Manipulating Text in Fireworks
Before we move on to some more advanced effects, lets see what we can do to text by simply using tools from the Tools Panel
1) Create a new file in Fireworks according to the following:
- Width: 500 pixels
- Height: 500 pixels
- Canvas colour: white

2) Click
the Text tool ![]()
3) Click and drag on the canvas to create a textbox.
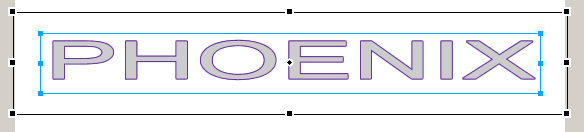
4) Type: PHOENIX in the textbox.
5) Click the pointer tool to select the textbox.
6) Change the textbox properties to the following:
- Font size: 50
- Width: 500
- Height: 60
7) Next, click the different Alignment options.
- You should
end up having click Stretch alignment

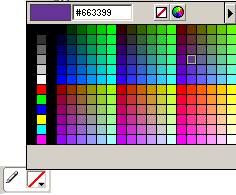
8) Under Colours on the Tools Panel:
- Type #663399 (purple) for the Stroke colour
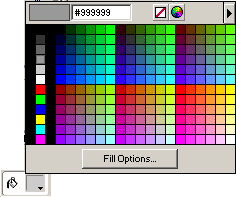
- Type #999999(grey) for the Fill Colour
9) Make sure that the text box is selected.

10) Click
the scale tool. ![]()
You should notice a black box outlining your textbox. You should also notice, that when you move the mouse over the textbox you should notice that there is a cross-hair pointer (4 intersecting arrows).
If you move the cross-hair pointer outside the textbox limits, it becomes a curved arrow.
11) Click and drag to rotate the text box.
Notice the dot in the center of the textbox. This the point which the image is being rotated around.
12) Move this point to just under the "h".
13) Rotate the text box again.
14) Create a folder inside your Unit2 folder and call it Text Effects.
Save this file as Rotation.
15) Proceed to the Shadows and Glows lesson.